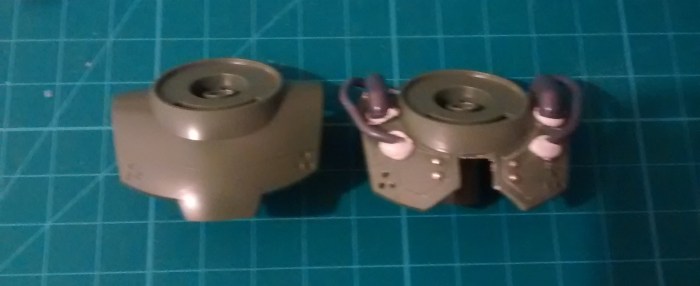
Last time we established that big weapon = good. Today, we’ll demonstrate that more big weapons = better. Before that, a small bit of customization on the chest piece, once again heavily influenced by Asrul Hazimin’s excellent Unicorn Buster.
Before / After…
The pic is pretty blurry, sorry. I have no way of taking a new one so this will have to do.
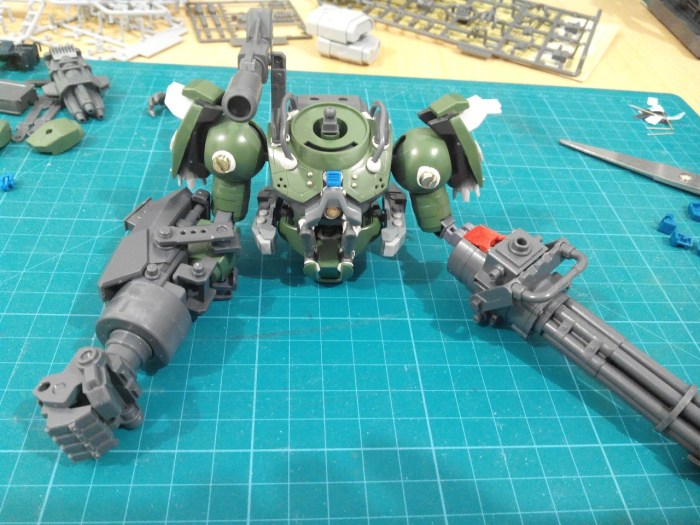
With the big-ass ranged weapon replacing my Hi-Mock’s left arm, I settled for a big-ass melee weapon to replace its right arm :
Kotobukiya makes some fine model parts.
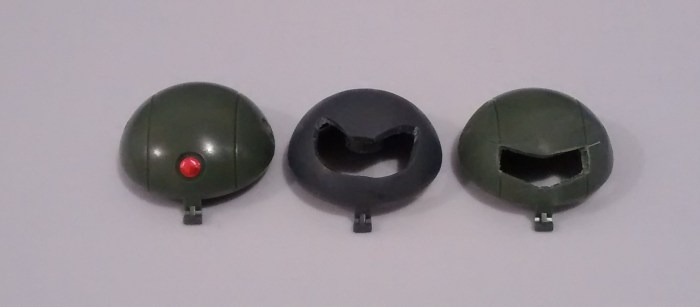
The upper body is pretty much final, except for the head and shoulders. I knew what I wanted to make, but made a pretty shitty first attempt using the Mock Army Set’s bonus head. Fortunatly, my second attempt using a spare Hi-Mock head (remember, I bought three of them) turned out a bit better :
Original / Fuck-up / Final product
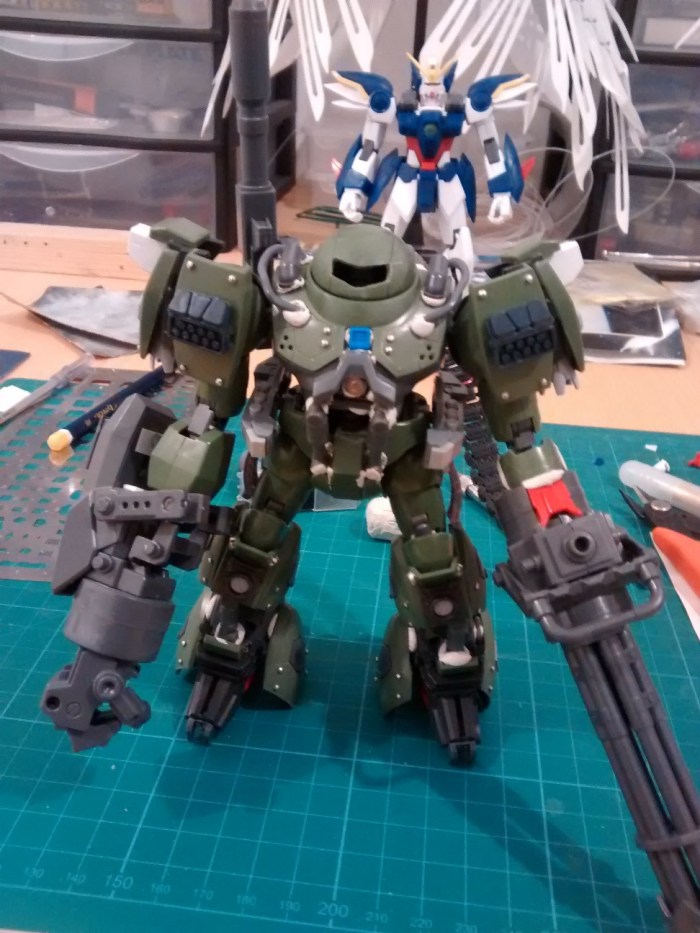
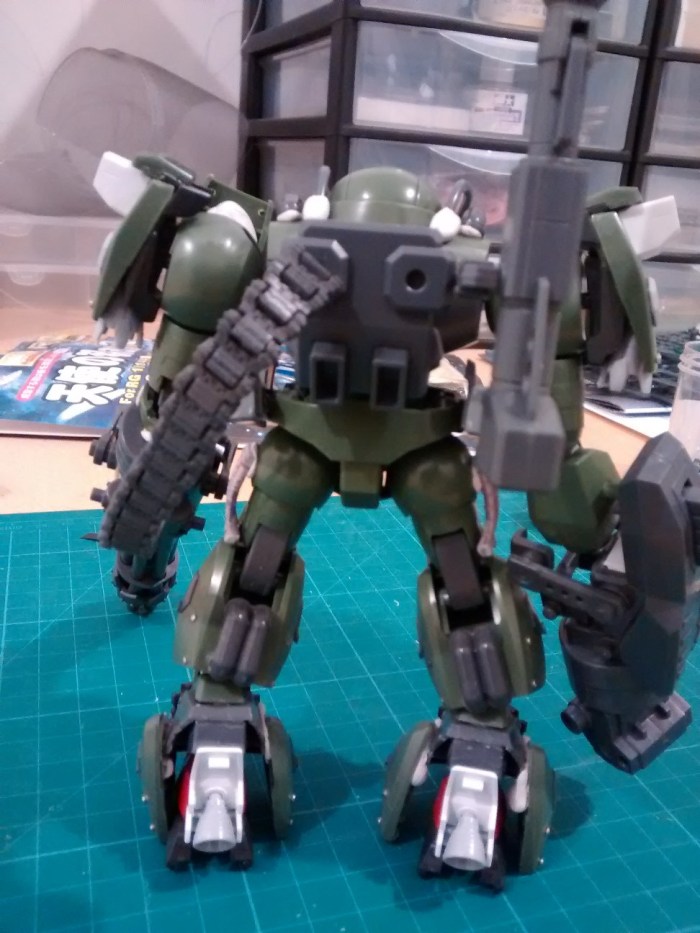
And with that we’re pretty much done, here’s the second (well, actually the 10th, but I didn’t snap a pic for each iteration) prototype :
Front
Notice the shoulders ? Since I ended up using spare parts from a second Hi-Mock (mainly for the feet), I decided that I would use as much parts as possible. Since it comes from the same model, it blends pretty well. Now I wonder if I can call that “kitbashing”, since I’m actually using the same kit several times. Mmm…
(sexy) Back
I also added an ammo chain for the Gatling, it plugs itself in the Hi-Mock backpack without any modification, neat ! The legs look pretty funky now, and I’d like to say “No worries, when it’s all painted and glued together it looks pretty cool !” but the truth is it still looks funky on the final model. I should have used more “pegs” and less glue.
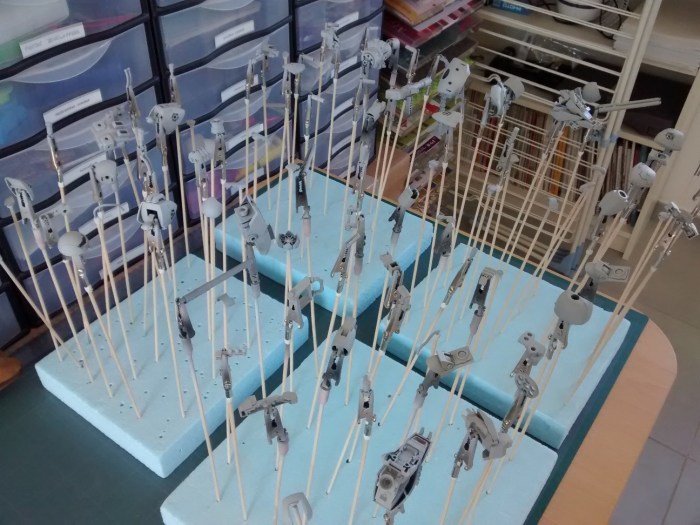
Now, painting the whole thing metallic ! I used Tamiya Chrome, and managed to make a pretty cool “weathered” effect with a simple trick I’ll describe later :
Primed and ready to go !
Not much to say here. I think that was my second big paint job, so I snapped this pic because (at the time) it felt like a lot of parts. Ah, the naïveté of youth…
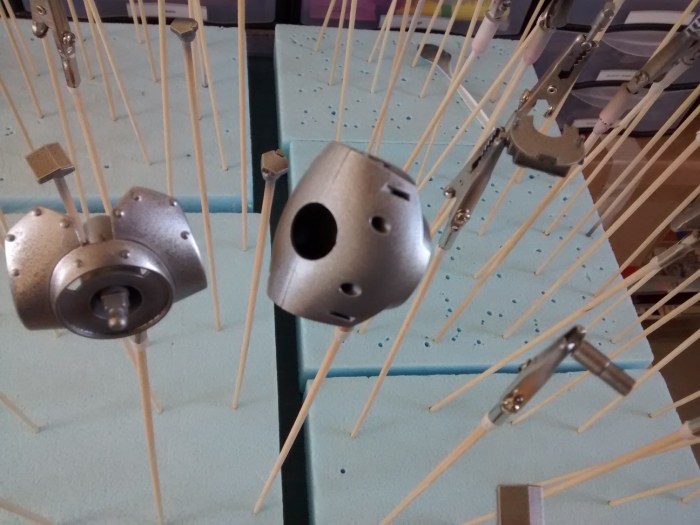
Pretty cool weathered look uh ?
Notice the chest piece (on the left) ? The chrome has a pretty nice weathered look to it, and I didn’t even begin dry-brushing the kit. My secret : paint with an unclean airbrush. The airbrush sputtered and made this unclean / irregular look. It ends up being pretty nice, IMO, but in indsight that was a pretty lame mistake… On a matte / clean looking kit, that would have been a hell of a mess !
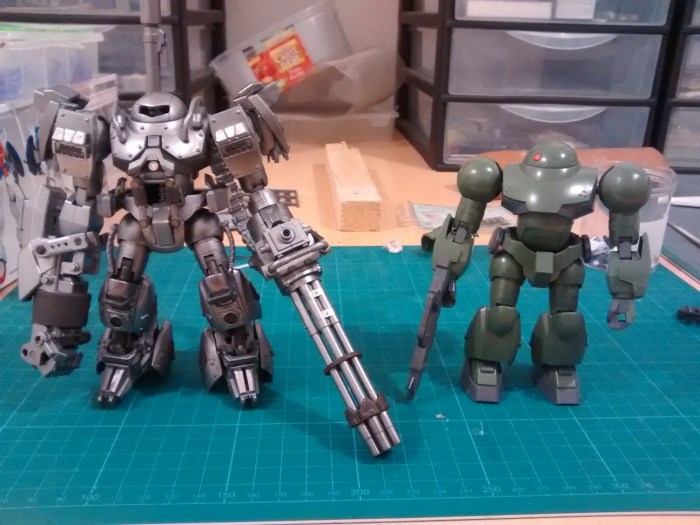
“Were you always THAT big ?” – OOB Hi-Mock
Here’s the “final” product (I dry-brushed a bit of chrome on the dark iron after that pic). I’m pretty happy of the end result, and I learned a lot making this custom. Now I apologize I don’t have better pics to show, but when I set-up a good photobooth I’ll go back and snap pics of my old finished kits 😉
